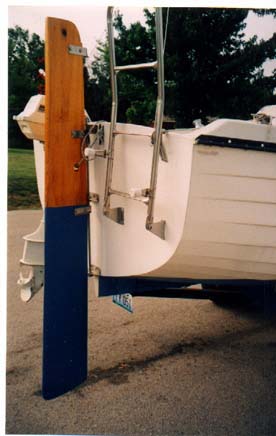
M-17 Rudder Illustrations
Photos provided by Howard Audsley, '78 M-17 #278
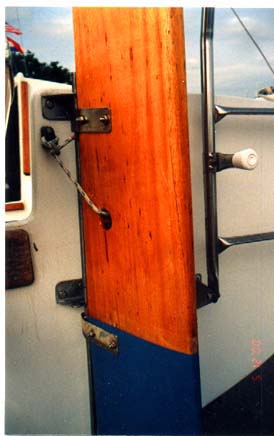
Another view